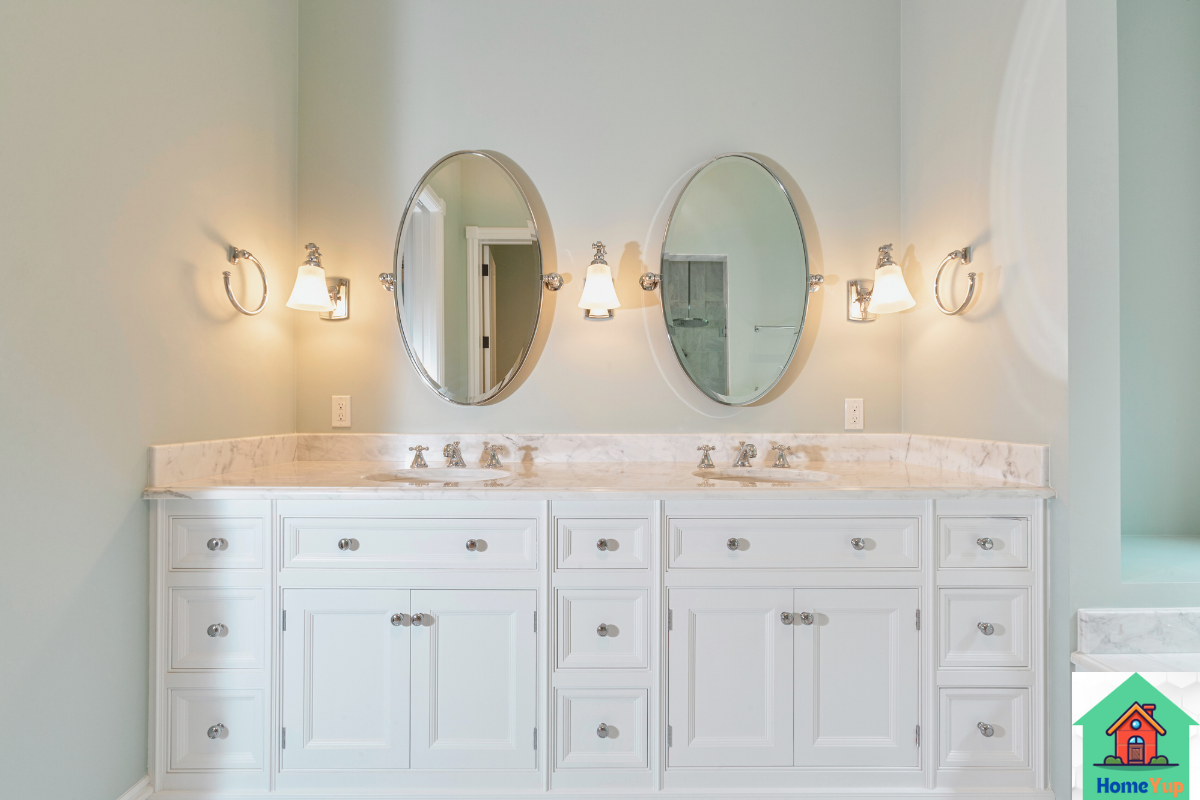

In this article, I’ll be sharing with you, my valued readers, how to refresh your bathroom vanity in a cost-effective way. First and foremost, applying a fresh coat of paint to your bathroom vanity can completely transform the style of your bathroom without breaking the bank. Painting your vanity is a quick, affordable project that can be completed in just a few days, instantly revitalizing the look of the room. Let’s dive into how to paint your vanity properly and do it professionally with budget-friendly tips!

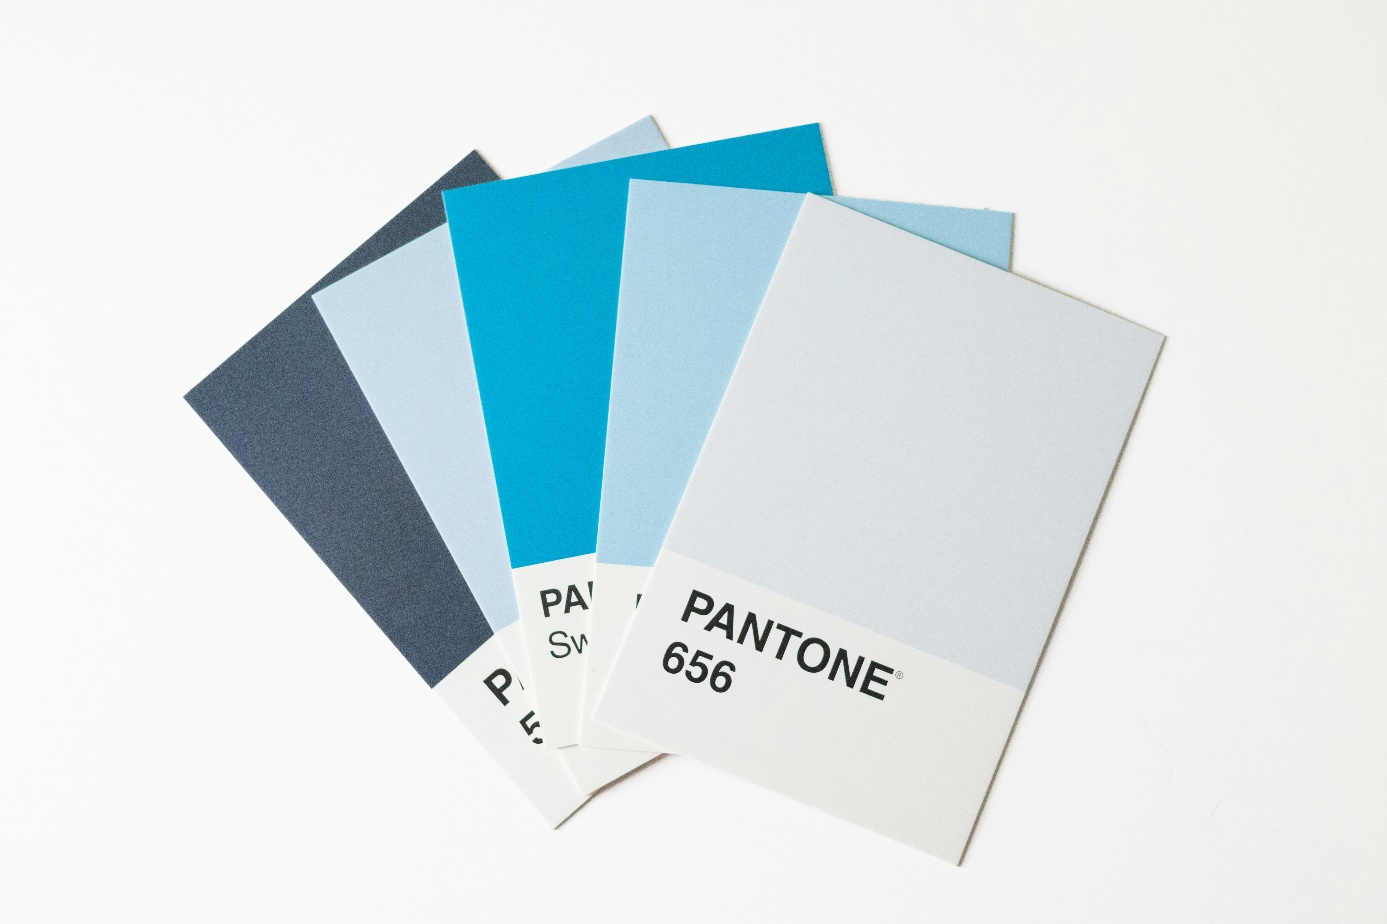
Photo by Fiona Murray-deGraaff on Unsplash
This first step is all about preparation. Start by removing all drawers and doors from the vanity, along with any knobs and handles. If you plan to reuse the hardware, label each piece with tape. This will prevent paint splatter. Cover the surrounding areas, floors, and sink with a drop cloth or plastic sheeting. Painter’s tape is also great for covering edges and spots you don’t want to paint.
Cleaning is essential for a smooth and long-lasting paint finish. Use a strong cleaner or degreaser to remove any grime, soap residue, or oils. This ensures the paint will adhere properly and prevents it from peeling later. Wipe down the entire surface and let it dry completely.
To help the paint adhere better, lightly sand the entire vanity with medium-grit sandpaper (about 120-grit). This step is especially important if the vanity has a shiny or glossy finish. Sanding will roughen the surface slightly, allowing the paint to grip better. Finally, wipe away any sanding dust with a damp cloth and let it dry.
Priming can make a significant difference in how the paint looks and lasts. Though optional, it’s recommended if you’re painting over a dark color or dealing with wood grain. Use a foam roller for larger areas and an angled brush for smaller spaces. Follow the manufacturer’s instructions and allow the primer to dry thoroughly before proceeding.
Now, on to the fun part—painting! Begin with a thin, even coat of paint. Use a small foam roller for smooth surfaces, and an angled brush for details and corners. Avoid heavy layers that might drip or take longer to dry. Once the first coat is dry, apply a second and even third coat if needed. This will give you a smooth, professional-looking finish.
Adding a clear topcoat is not essential but is highly beneficial in a humid bathroom environment to keep your vanity looking great for a long time. A water-based polyurethane or polycrylic works well and won’t yellow over time. Apply a thin coat with a clean brush and let it dry completely.
Once everything is dry, it’s time to reassemble the vanity. Carefully reinstall the hardware and place the drawers and doors back. This final step reveals your refreshed vanity and a brand-new look for your bathroom! The result will be stunning.
Painting a bathroom vanity is one of the most cost-effective ways to bring quick and impactful renewal to your bathroom. This easy transformation not only gives your bathroom a fresh look but also adds a personal touch, creating a style that’s truly your own. With just a little effort and the right supplies, you can completely change the atmosphere of your bathroom and make your vanity look more stylish and modern than ever before. Best of all, you can accomplish this project without stretching your budget and enjoy a new, vibrant look in one of the most frequently used spaces in your home. Enjoy the stunning transformation of your bathroom! Stay well …
